


How to sterilize poultry houses and barns

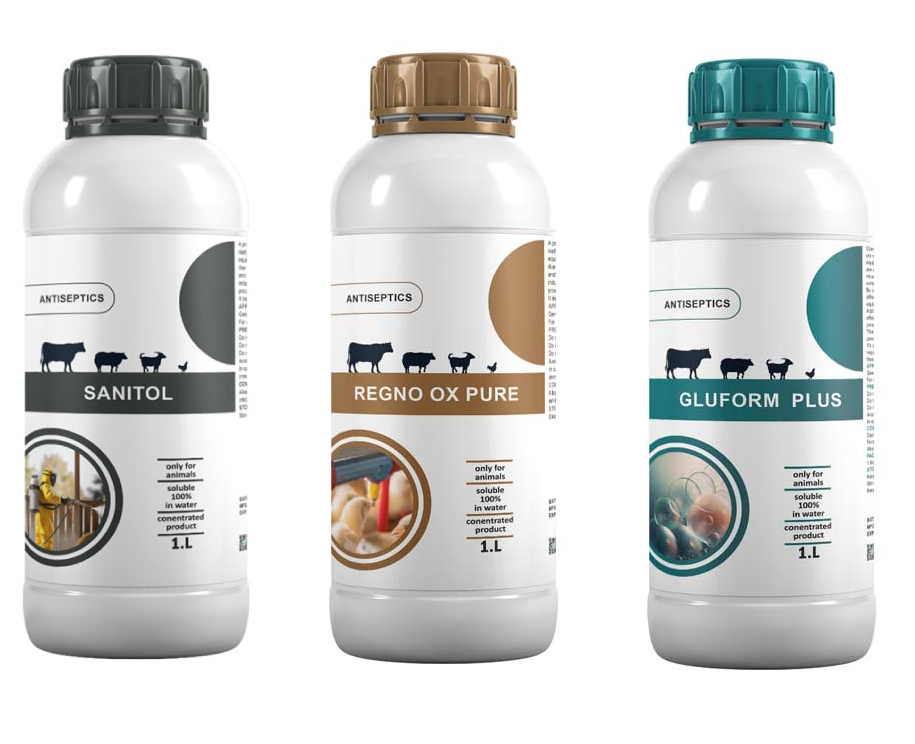
Maintaining a rigorous biosecurity protocol is essential for modern poultry farming.
Proper cleaning and disinfection eliminate pathogenic micro-organisms—such as Salmonella, E. coli, and avian influenza viruses—protecting bird health, optimizing growth performance, and ensuring farm profitability.
Below is a comprehensive, step-by-step guide to executing a professional-grade sanitation workflow for poultry houses and livestock barns.
Step 1: Preparation & Depopulation
Before initiating any sanitation procedure, complete preparation is necessary to ensure safety and unhindered access:
- Flock Depopulation: Remove all poultry or livestock from the facility completely before starting the cleaning process.
- Equipment Removal: Take out removable equipment, including portable feeders, waterers, nest boxes, and scales, so they can be cleaned and disinfected separately.
- Power & Ventilation Precaution: Safely cover or isolate electrical panels, automated sensors, and control boxes to prevent water damage during pressure washing.
Step 2: Dry Cleaning
Dry cleaning removes organic bulk waste, which significantly impairs the efficacy of chemical disinfectants if left unaddressed:
- Litter and Manure Removal: Clear out all used bedding, litter, and manure using shovels, scrapers, or mechanical vacuums. Dispose of organic waste far from the farm perimeter to prevent cross-contamination.
- Dusting & Sweeping: Sweep floors, ledges, structural beams, ceiling joints, and ventilation inlets to remove accumulated dust, feathers, and cobwebs from top to bottom.
Step 3: Wet Cleaning & Degreasing
Thorough washing dissolves grease, biofilms, and stubborn organic matter adhering to facility surfaces:
- Pre-soaking: Spray water mixed with a suitable detergent or alkaline cleaner across all surfaces to loosen caked-on dirt.
- High-Pressure Washing: Use a high-pressure washer to clean ceilings, walls, partitions, and concrete floors. Work systematically from the highest points down to the floor.
- Manual Scrubbing: Use heavy-duty brushes or scrubbing pads on hard-to-reach areas, wire mesh, corners, and equipment tracks where pressure sprays might miss.
- Rinsing: Thoroughly rinse away all residual detergent and loosened debris with clean water, then allow excess water to drain.
Step 4: Chemical Disinfection
Once surfaces are thoroughly cleaned and dried, apply a broad-spectrum chemical disinfectant targeting poultry pathogens:
- Disinfectant Selection: Choose an approved disinfectant suited for veterinary use, such as:
- Quaternary Ammonium Compounds (QACs): Excellent for general surface sanitation.
- Glutaraldehyde & Formaldehyde Formulations: Highly effective against resistant viruses, bacteria, and fungal spores.
- Iodophors & Hydrogen Peroxide Solutions: Effective for surface treatments and equipment sanitation.
- Application: Apply the solution evenly using a low-pressure sprayer, ensuring complete coverage of floors, walls, and structural elements.
- Contact Time: Maintain wet contact for the full duration specified by the manufacturer (typically 10–30 minutes) to achieve maximum pathogen kill rates.
Step 5: Water Line & Equipment Sanitation
Water lines and feeding systems harbor biofilms and microbes if not sanitized regularly between batches:
- Water Line Flushing: Drain drinking systems, fill them with an approved descaling or line-sanitizing solution (e.g., hydrogen peroxide or organic acid blends), allow proper contact time, and flush thoroughly with clean water.
- Equipment Sanitization: Wash, scrub, and dip all removed equipment (feeders, drinker lines, crates) in disinfectant solution before reinstallation.
Step 6: Thermal Treatment & Fumigation (Optional / Deep Disinfection)
For high-density operations or following disease outbreaks, additional terminal disinfection methods ensure complete pathogen eradication:
- Thermal Disinfection: Use thermal fogging or flame burners on concrete floors to eradicate parasite eggs (such as coccidial oocysts) and persistent bacteria.
- Formalin / Gas Fumigation: Sealed-house fogging or aerosol misters can be used to reach micro-fissures and overhead structures that liquids cannot cover effectively. Always observe strict safety precautions and wear proper Personal Protective Equipment (PPE).
Step 7: Downtime & Rest Period
Sanitation is incomplete without adequate downtime:
- Sanitary Rest Period: Leave the empty facility completely closed and undisturbed for a minimum of 7 to 14 days prior to introducing new stock.
- Drying: Allowing the building to dry completely breaks the biological lifecycle of remaining pathogens and parasites.
Step 8: Pre-Placement Inspection & Biosecurity Verification
Final verification ensures the environment is safe and sterile for the incoming flock:
- Microbiological Testing: Take swab samples from various surfaces (floors, walls, drinkers) to verify that pathogen counts meet biosecurity standards.
- Fresh Bedding Setup: Spread clean, pathogen-free litter (wood shavings or straw) evenly across dry floors.
- Entry Controls: Set up active footbaths, hand-sanitizing stations, and clean protective clothing requirements at all entry points before bird arrival.
Conclusion
Systematic sterilization of poultry houses and barns is the cornerstone of effective biosecurity and livestock management. By executing a structured workflow—moving from thorough dry and wet cleaning to targeted chemical disinfection, equipment treatment, and adequate downtime—farm operators effectively break disease transmission cycles.
Implementing these rigorous hygiene protocols safeguards flock health, reduces the need for therapeutic treatments, and maximizes overall operational productivity.